709-218-7927 The Landfall Garden House 60 Canon Bayley Road CANADA A0C 1B0 |
|
|---|
.JPG)
Rebuilding The Balcony Vermicomposter
June 8, 2006
I have now emptied the large (four square feet) balcony vermicomposter into a small (one square foot) vermicomposter to free up space on the balcony.
This morning I took two two-foot sides (total four feet) of the large bin and rebuilt them as a four-sided, one foot per side, small-footprint vermicomposter.
First off, A Second Use For Everything . I found an old table I’d used as a drinks table
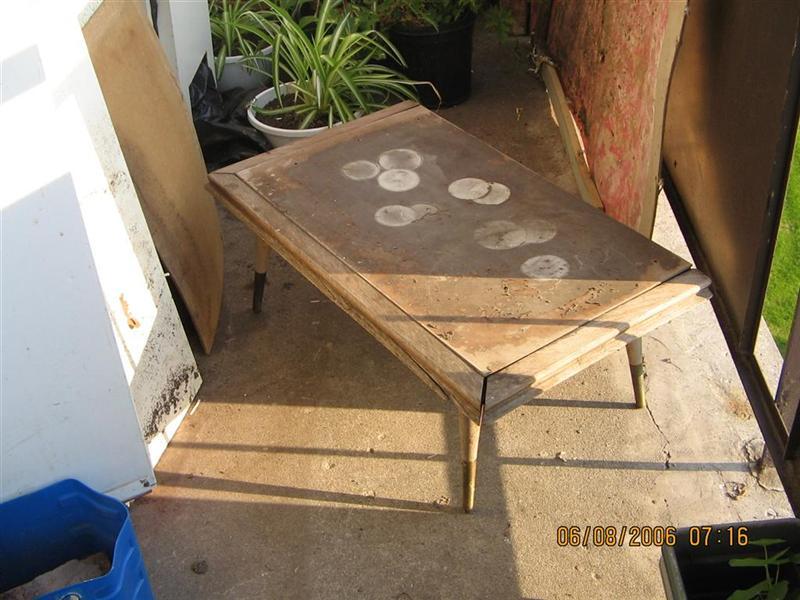
On turning it over I discovered a one-foot wide channel:
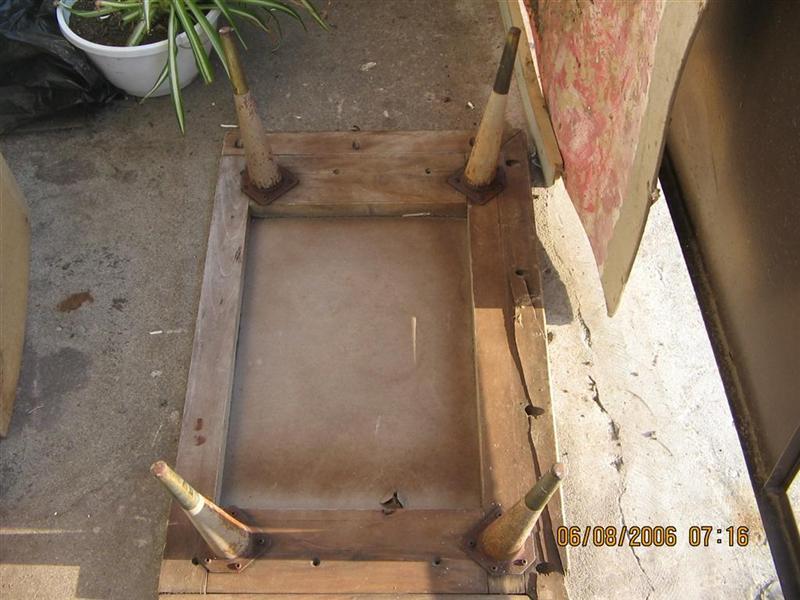
Exactly one foot wide!
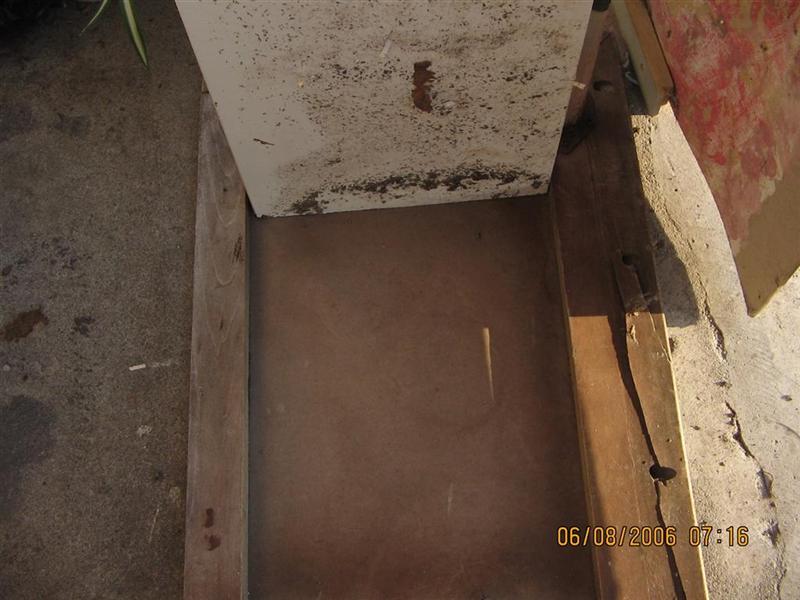
I decided that the channel would house my one-foot wide vermicomposter, so I removed the legs and one end of the table top

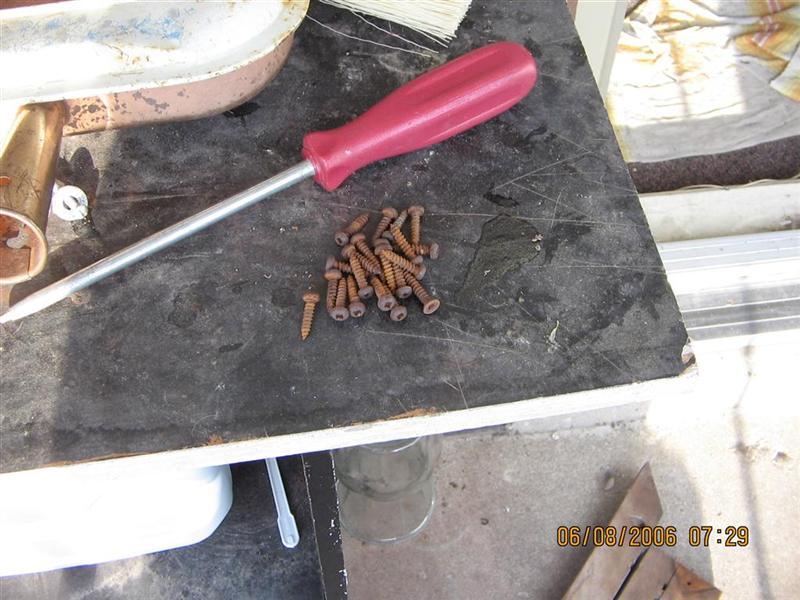
And waddya know! I ended up with a nice collection of wood-screws. A Second Use For Everything , right?
Here are the two panels ready to be hinged. Each panel consists of a three-foot high (half the original vertical height) section of a folding closet door.
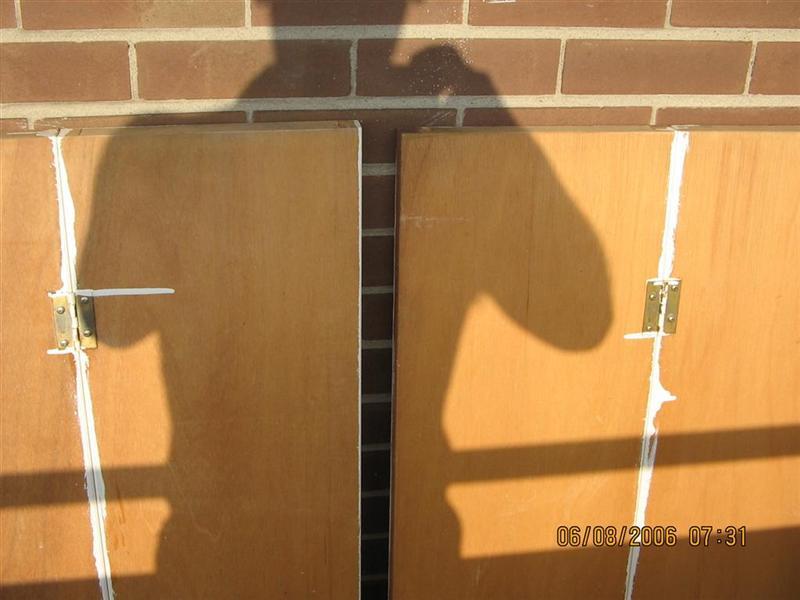
And here they are linked together with a pair of cheap hinges, one hinge at the top, one at the bottom. I didn’t have to go far for wood-screws!
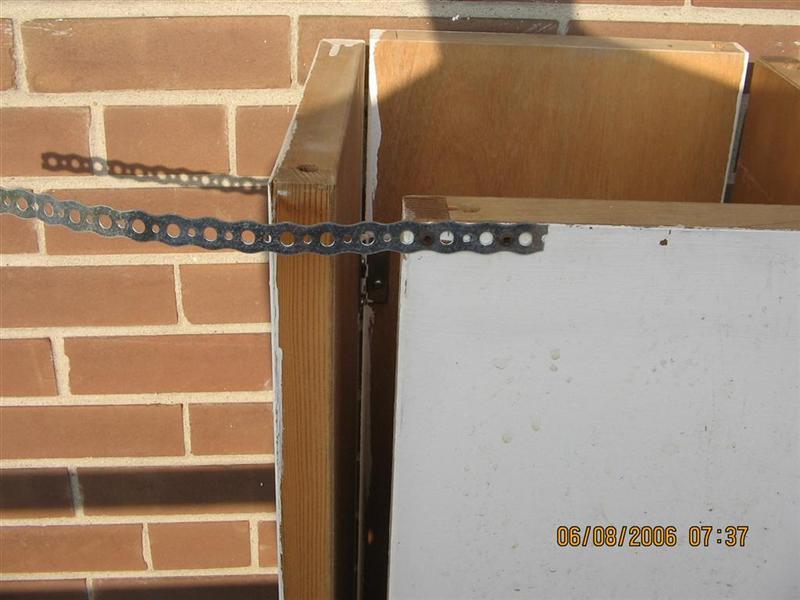
Next I decided against hinging the fourth corner. This time I’m using a piece of metal strapping which I can un-latch when it’s time to empty the vermicomposter en masse.
The right-hand end of the strap (there’s another piece at the bottom) is secured to one panel with two wood screws; the left-hand side will be dropped over the heads of raised screws on the left-hand panel. Easy to unhook, space out, and so on.
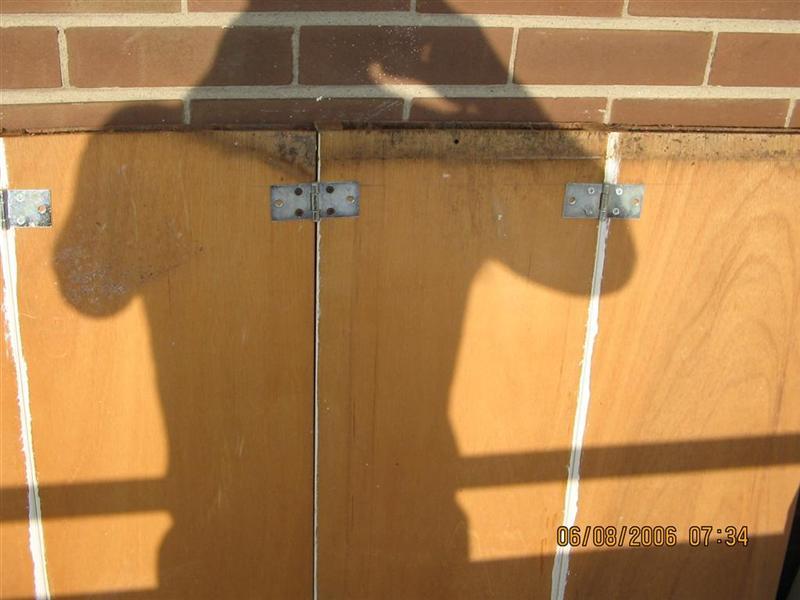
Here’s the vermicomposter turned upside down while I fasten the bottom strip. You can see the two raised wood screws which will serve the latch the strip.
You can also see some of the muck from this past winters efforts. Don’t worry, it brushes off …
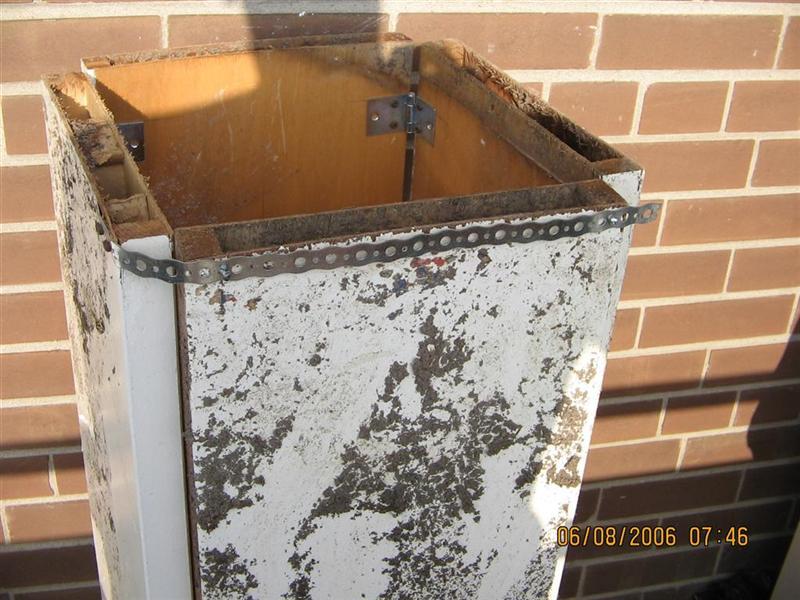
I have un-latched the strip while I cut away the eight-inch door in the bottom of one panel. I make the vertical cuts with a hand saw, and score the plywood with a small kitchen knife. The plywood then snaps away by hand.

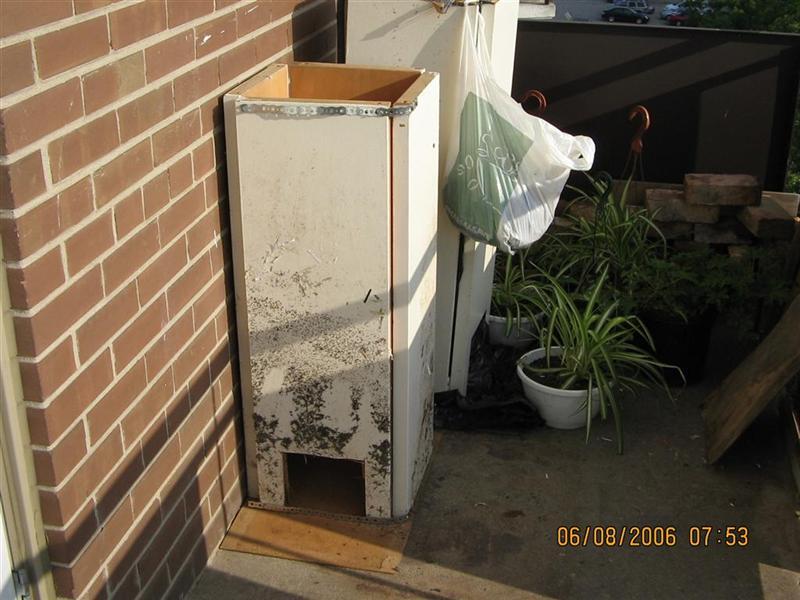
Here is the vermicomposter completely rebuilt. I have it standing on a piece of Masonite which will absorb most of any excess fluid and help evaporate it, rather than have it drip off my balcony.
The eight-inch doorway faces away from the edge of the balcony. It will be shielded by the balcony door, just visible to the left.
That’s a grocery-store bag ( A Second Use For Everything ) slowly collecting non-degradable garbage – old bones, small pieces of window envelope plastic (I shred the lot and sort it out later).
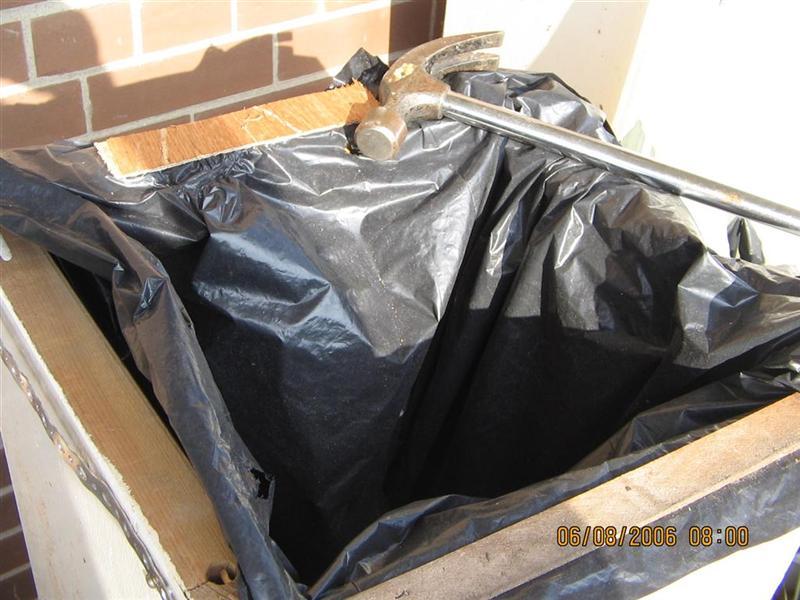
I am lining this vermicomposter with an old and holey garbage bag ( A Second Use For Everything ). I use thin strips of plywood (cut with the kitchen knife from the plywood I removed to make the eight-inch doorway) to anchor the edges of the bag to the vermicomposter with three two-centimetre pins each.
I have cut way the bottom of the bag – which now is at the bottom of the vermicomposter, so that my bag is now a cylinder.
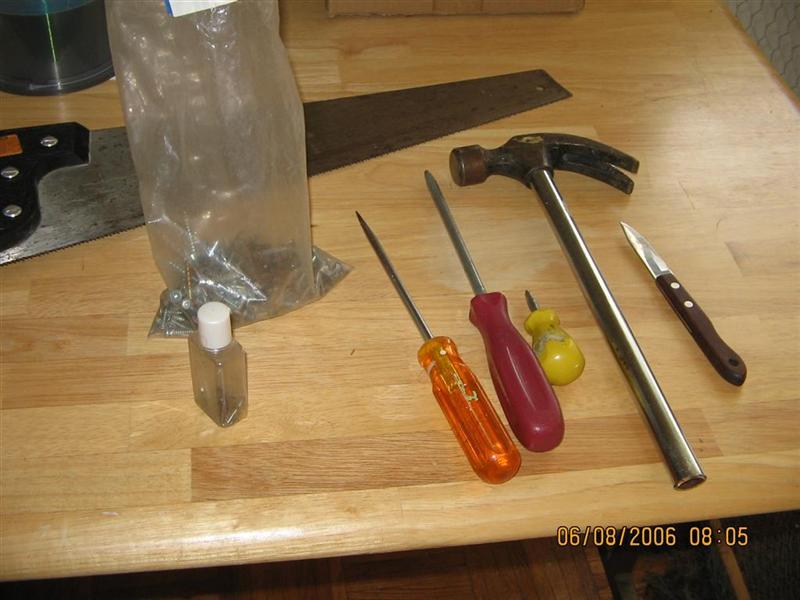
Finally, put-away time. Here are the tools I used: A hand saw, pins (stored in a plastic hand-lotion bottle from my latest hotel stay) and wood-screws (stored in a plastic see-through milk bag); three screwdrivers, a hammer (lost its rubber-handle, but still works!) and a kitchen knife.
I’ll clean the knife and use it to eat my apple on the balcony while I admire my work.
Then I’ll toss the apple-core into my new vermicomposter.
If you’ve been tracking the date/time stamps in the photographs, you’ll see that the whole project took me fifty minutes. Under an hour.
Loading
709 218 7927 CPRGreaves@gmail.com
Bonavista, Wednesday, June 03, 2020 11:41 AM
Copyright © 1996-2020 Chris Greaves. All Rights Reserved.